Hi,
I like to share my experience connecting Raspberry Pi 3 B+ , Arduino Uno , LED light and blink the LED.
I.Things Needed :
1. Raspberry Pi 3 Model B+
2. Arduino Board
3. Solderless board
5. LED light
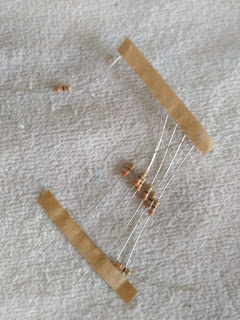
6. 300 ohm Resistor to protect LED
7. USB A to USB B Connector ( to connect Raspberry Pi 3 B+ with Arduino )
6. 300 ohm Resistor to protect LED
7. USB A to USB B Connector ( to connect Raspberry Pi 3 B+ with Arduino )
II. Install necessary packages :
a) Install Arduino IDE in Raspberry Pi 3 B+ with :
sudo apt-get install arduino
You will be seeing board light blinking in Arduino board.
III. Circuit Completion
Complete the circuit has shown below :
IV. Blink light program
a) Go to Arduino IDE, Choose the type of Arduino board : go to Tools > Board > Arduino Uno.
b) Select the port the Arduino is connected to, look under Serial Port under the Tools menu ( serial port in the raspberry Pi will be like /dev/ttyACM0).
b) Select the port the Arduino is connected to, look under Serial Port under the Tools menu ( serial port in the raspberry Pi will be like /dev/ttyACM0).
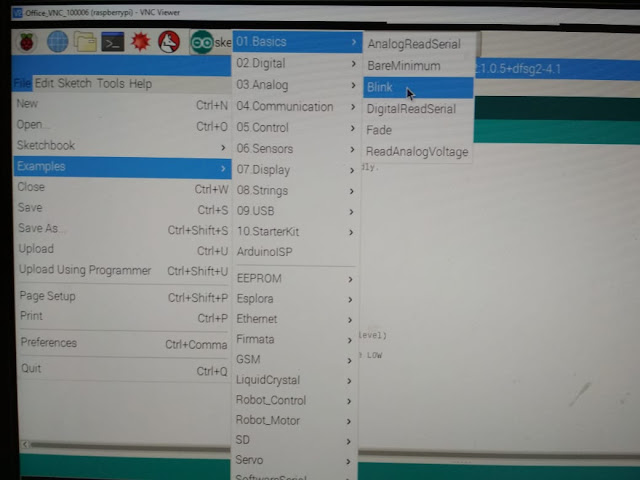
c) Go to File > Examples > Basics > Blink
d) Change the pin number in the Blink Program to Pin 7 as shown below :
Alternatively , copy the code from :
https://gist.github.com/johnsylvester1/eab9fd314e6f84a5d63bc9109af63013
e) Compile the Blink program by clicking the tick button( left most button in IDE )
f) Click the upload button to upload the blink program.
IV. Executing the blink program| /* | |
| Blink | |
| Turns on an LED on for one second, then off for one second, repeatedly. | |
| This example code is in the public domain. | |
| */ | |
| // Pin has an LED connected on most Arduino boards. | |
| // give it a name: | |
| int led = 7; | |
| // the setup routine runs once when you press reset: | |
| void setup() { | |
| // initialize the digital pin as an output. | |
| pinMode(led, OUTPUT); | |
| } | |
| // the loop routine runs over and over again forever: | |
| void loop() { | |
| digitalWrite(led, HIGH); // turn the LED on (HIGH is the voltage level) | |
| delay(1000); // wait for a second | |
| digitalWrite(led, LOW); // turn the LED off by making the voltage LOW | |
| delay(1000); // wait for a second | |
| } |
Alternatively , copy the code from :
https://gist.github.com/johnsylvester1/eab9fd314e6f84a5d63bc9109af63013
e) Compile the Blink program by clicking the tick button( left most button in IDE )
f) Click the upload button to upload the blink program.
a) Output will appear as shown below :
b) Now disconnect USB cable connecting Raspberry Pi , Arduino.
Now connect the USB cable to any Mobile USB charger. You will see LED still blinking without Raspberry Pi connected because blinking program is loaded in Arduino board. The light will be blinking as long as power is available for Arduino board.
Now , you have successfully connected Raspberry Pi , Arduino and made a LED light blinking.
Kindly share your comments to improve my posting.


